Quick Start Guide
Introduction
This guide will help you quickly set up and start using MassiveRealm for your multiplayer game or app projects.
Step 1: Create a Project
- Sign Up: Go to the MassiveRealm Console and sign up for an account.
- Create a Project: After signing in, create a new project.
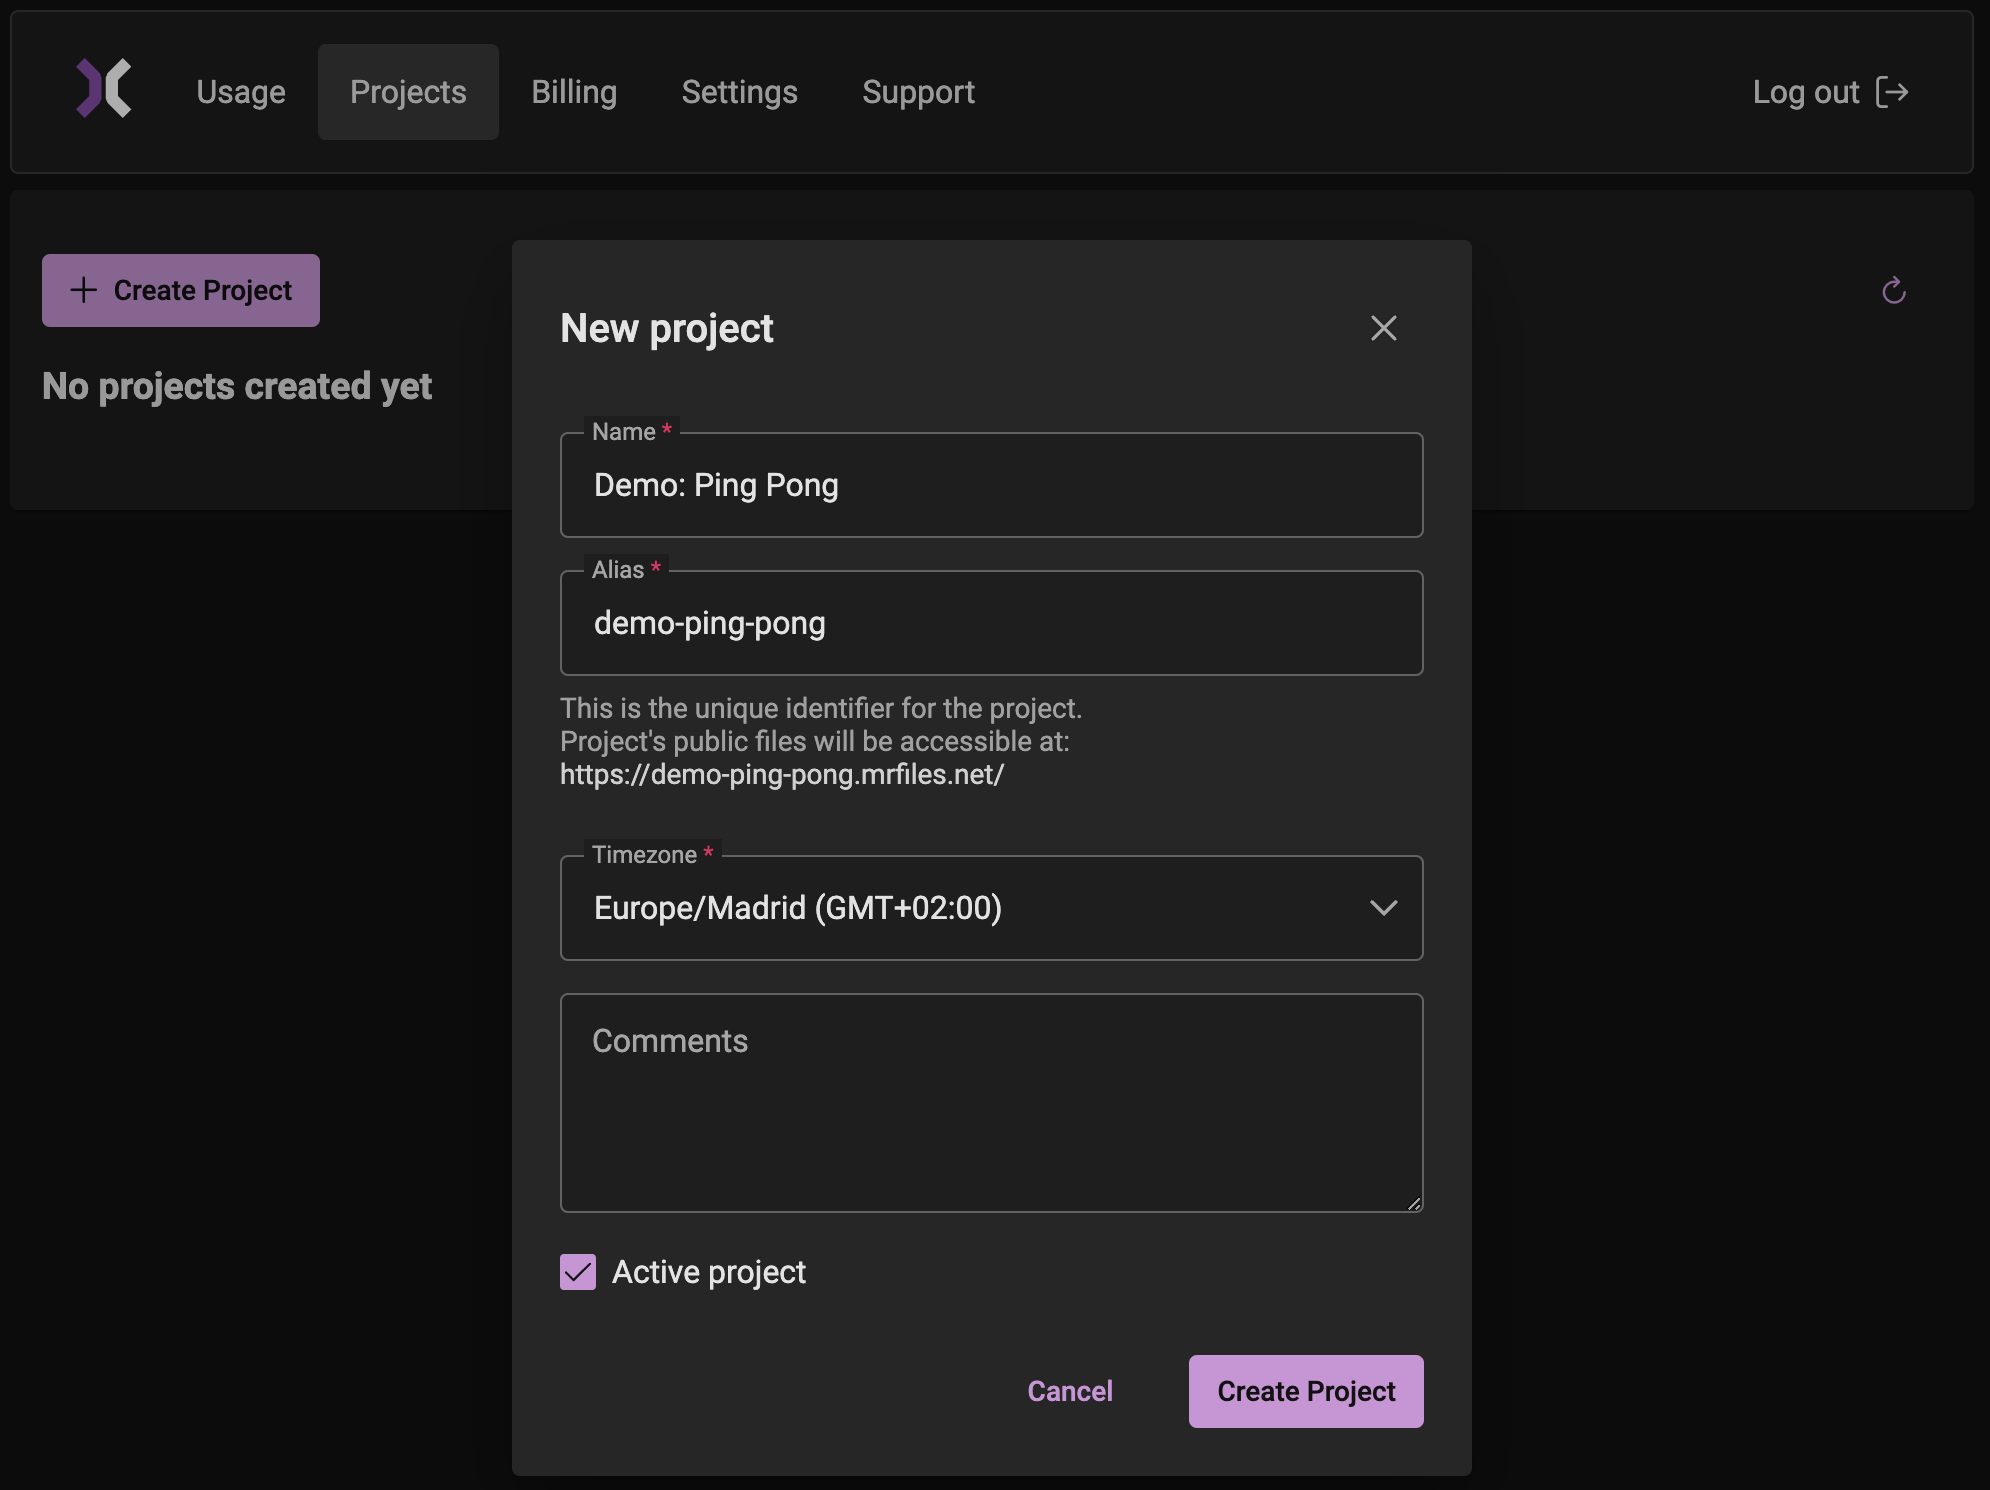
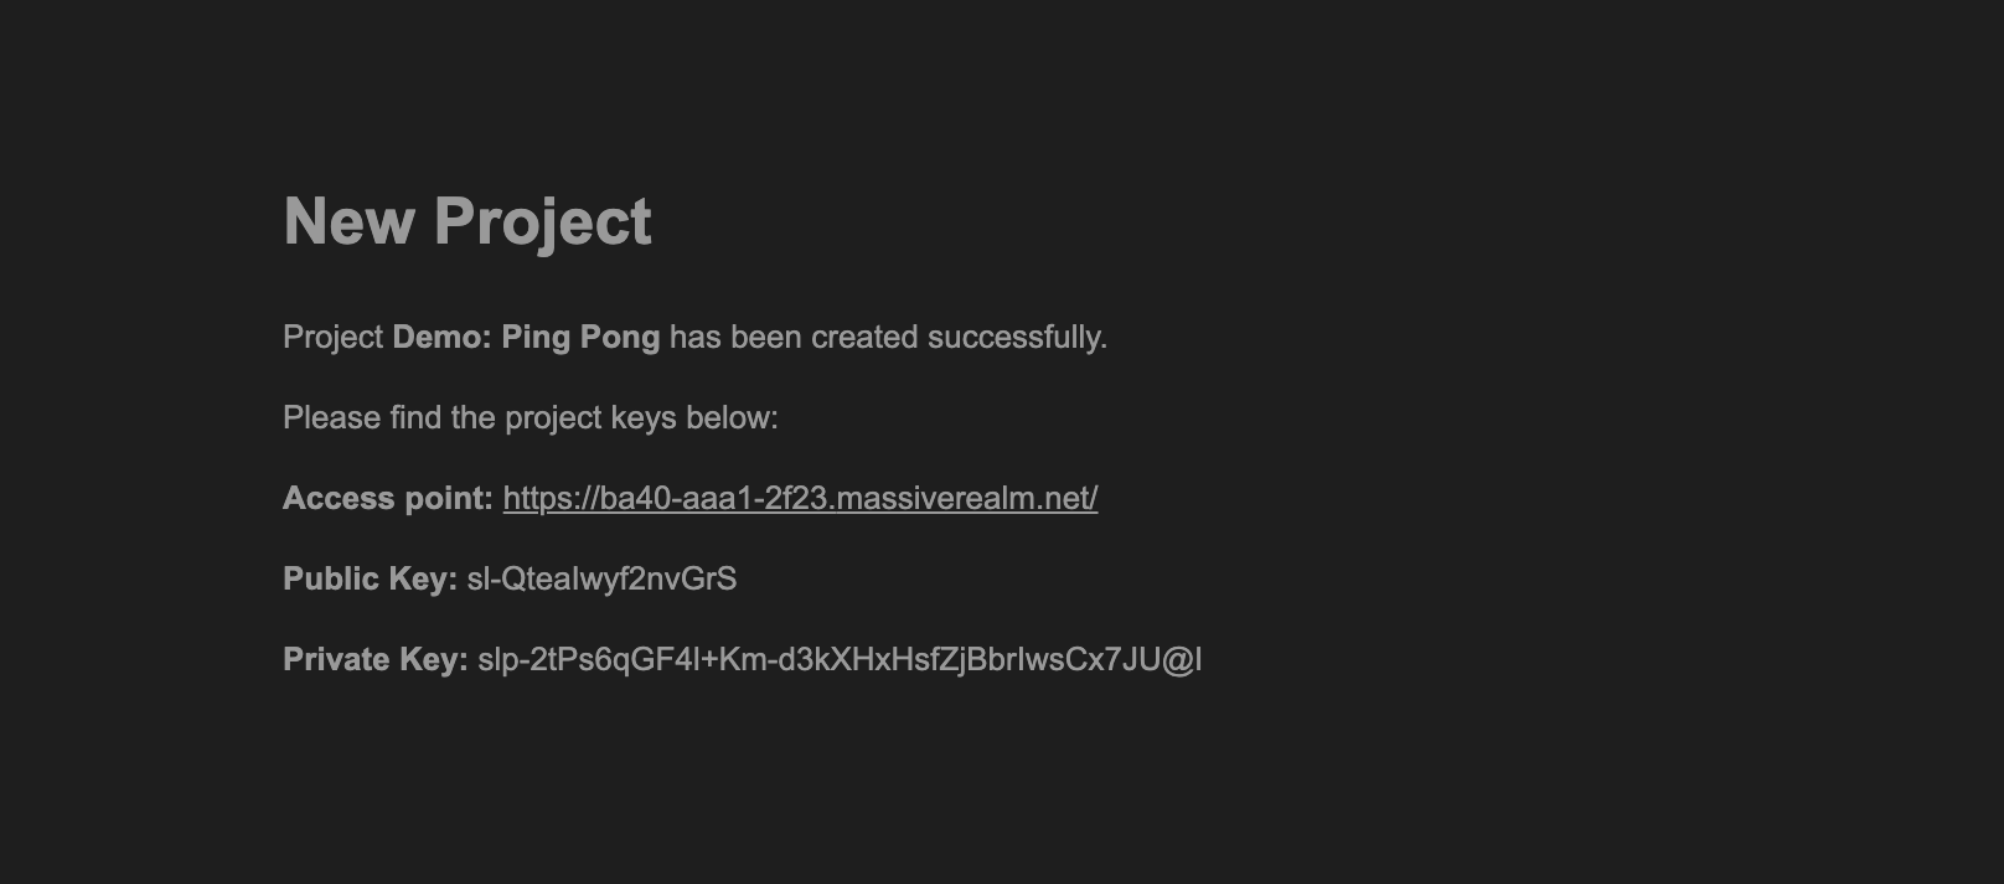
- Check your Email: You will receive a Project URL, Project Public Key, and Private Key via email.
Step 2: Access the Console
- Log In: Go to the MassiveRealm Console and log in with your credentials.
- Navigate: Explore the console to manage and monitor your project. The main sections include Dashboard, Projects, Logics, Rooms, Storage, Deployment, and Project Settings.
Step 3: Create Logic
Go to Logic Section: Navigate to Project > Logic and click "+ Create Logic".
Name Your Logic: Enter "Ping Logic" as the name and click "Create".
Define Server Command:
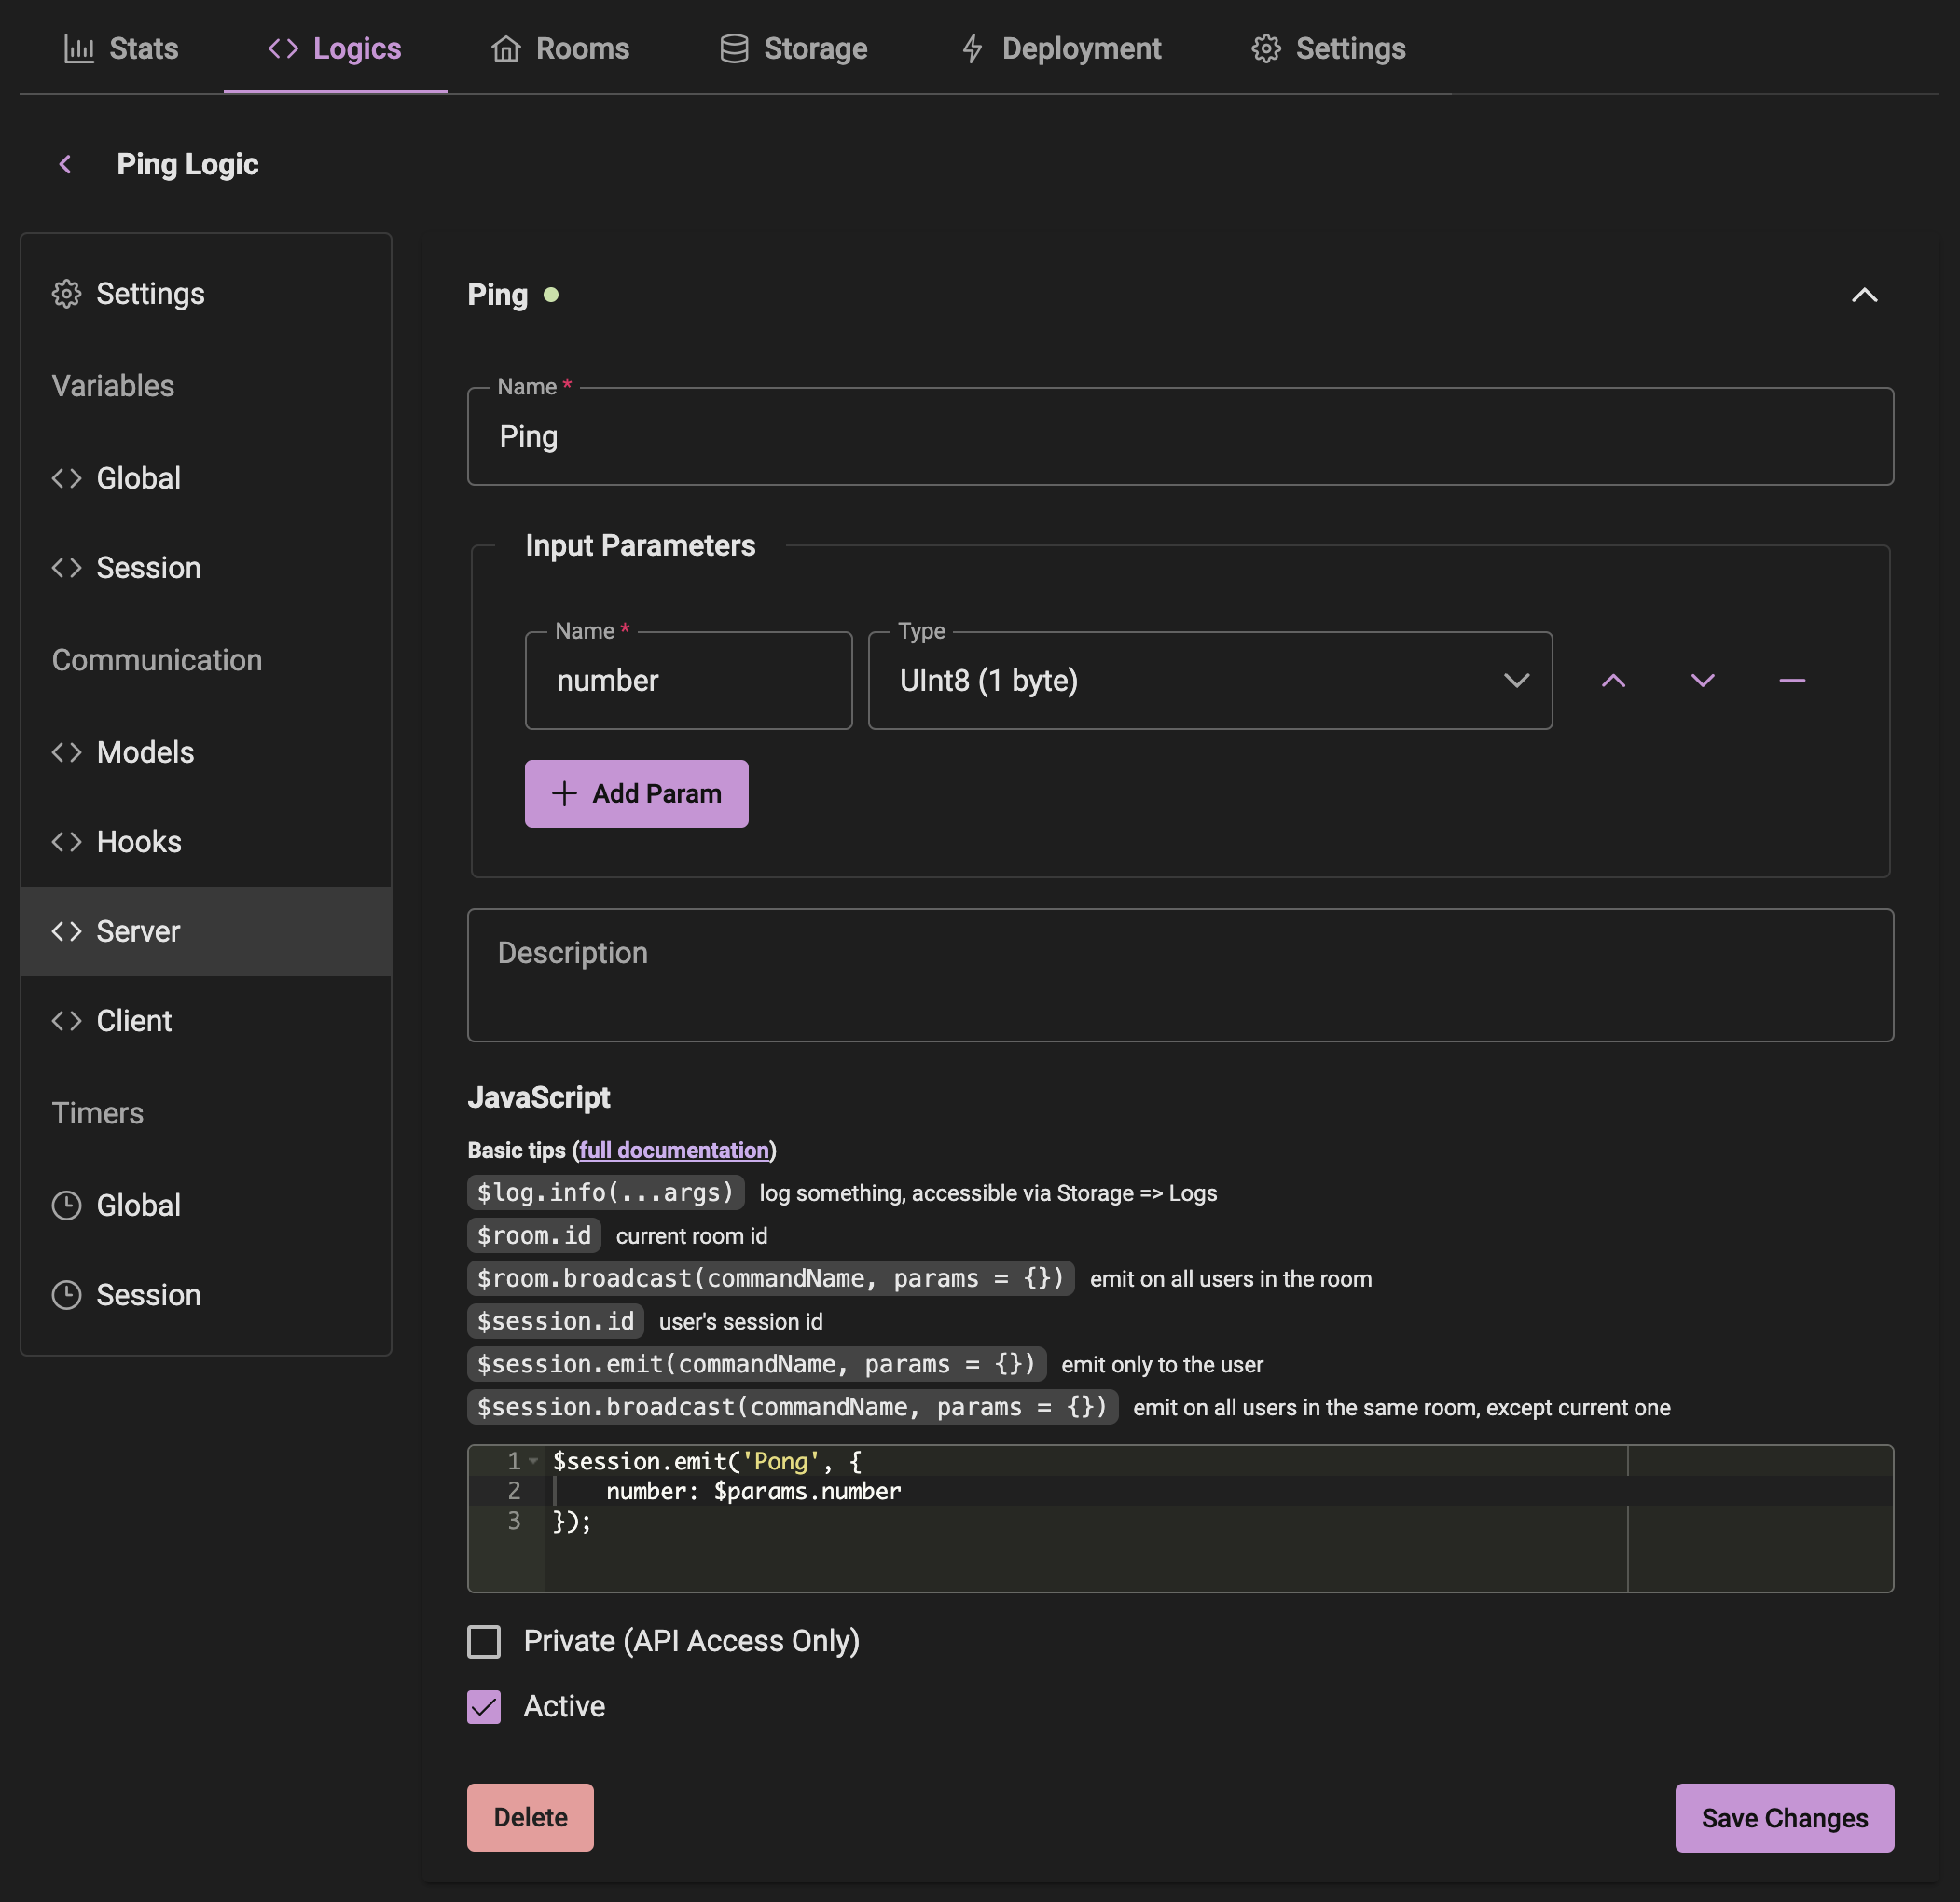
- Go to Communication > Server and click "+ New Command".
- Name the command "Ping".
- Add a parameter named "number" with Type "UInt8".
- Use the following JavaScript code for the command:javascript
$session.emit('Pong', { number: $params.number }); - Click "Save Changes".
Define Client Command:
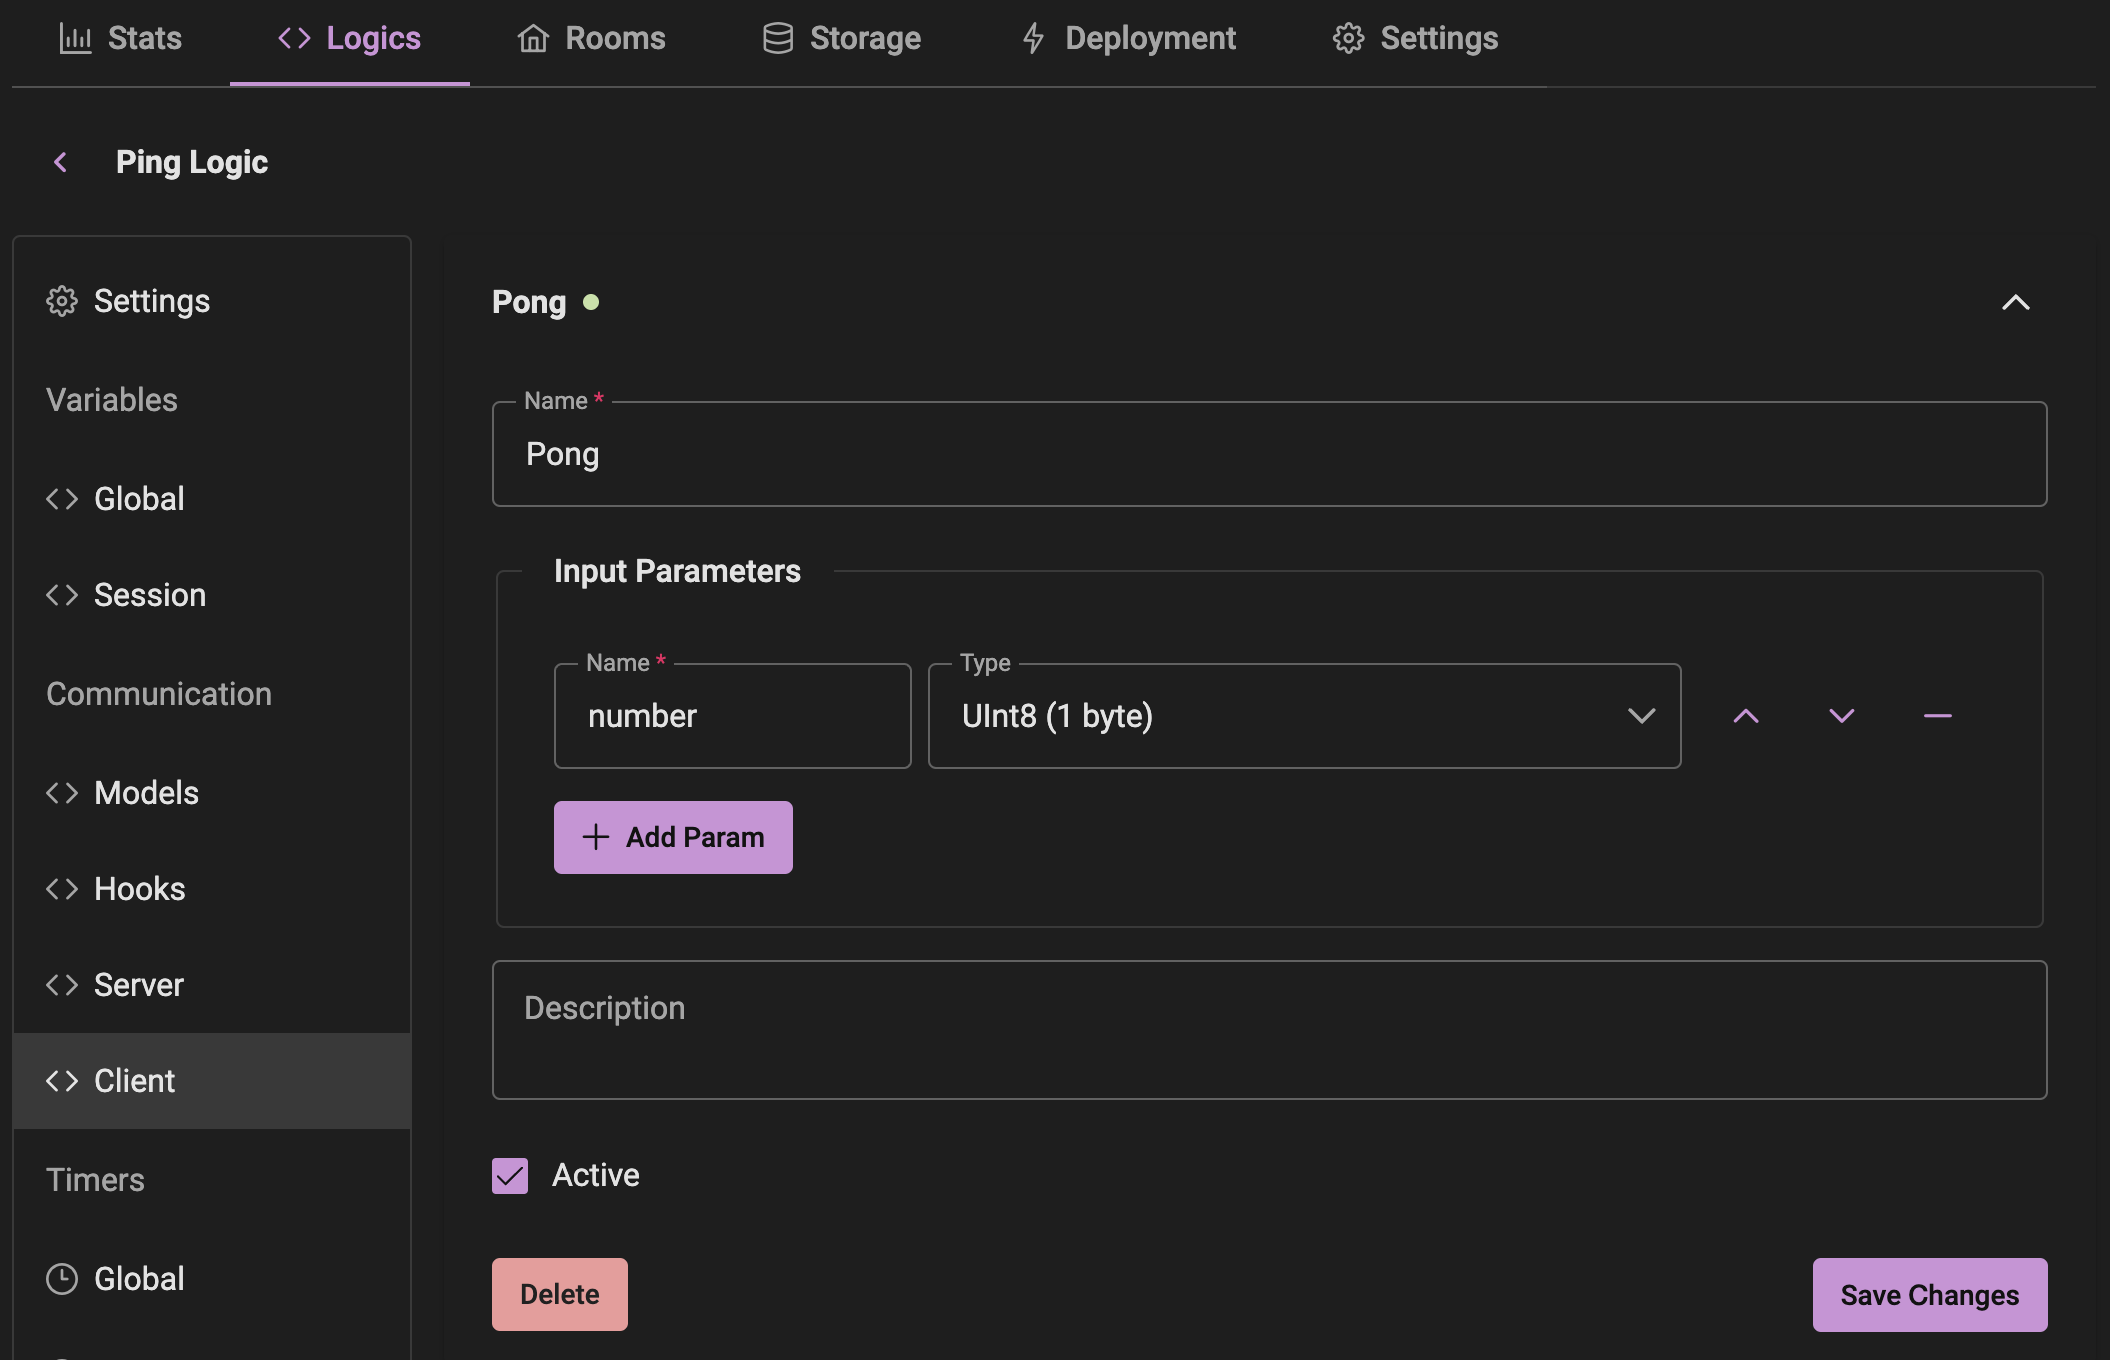
- Go to Communication > Client and click "+ New Command".
- Name the command "Pong".
- Add a parameter named "number" with Type "UInt8".
- Click "Save changes".
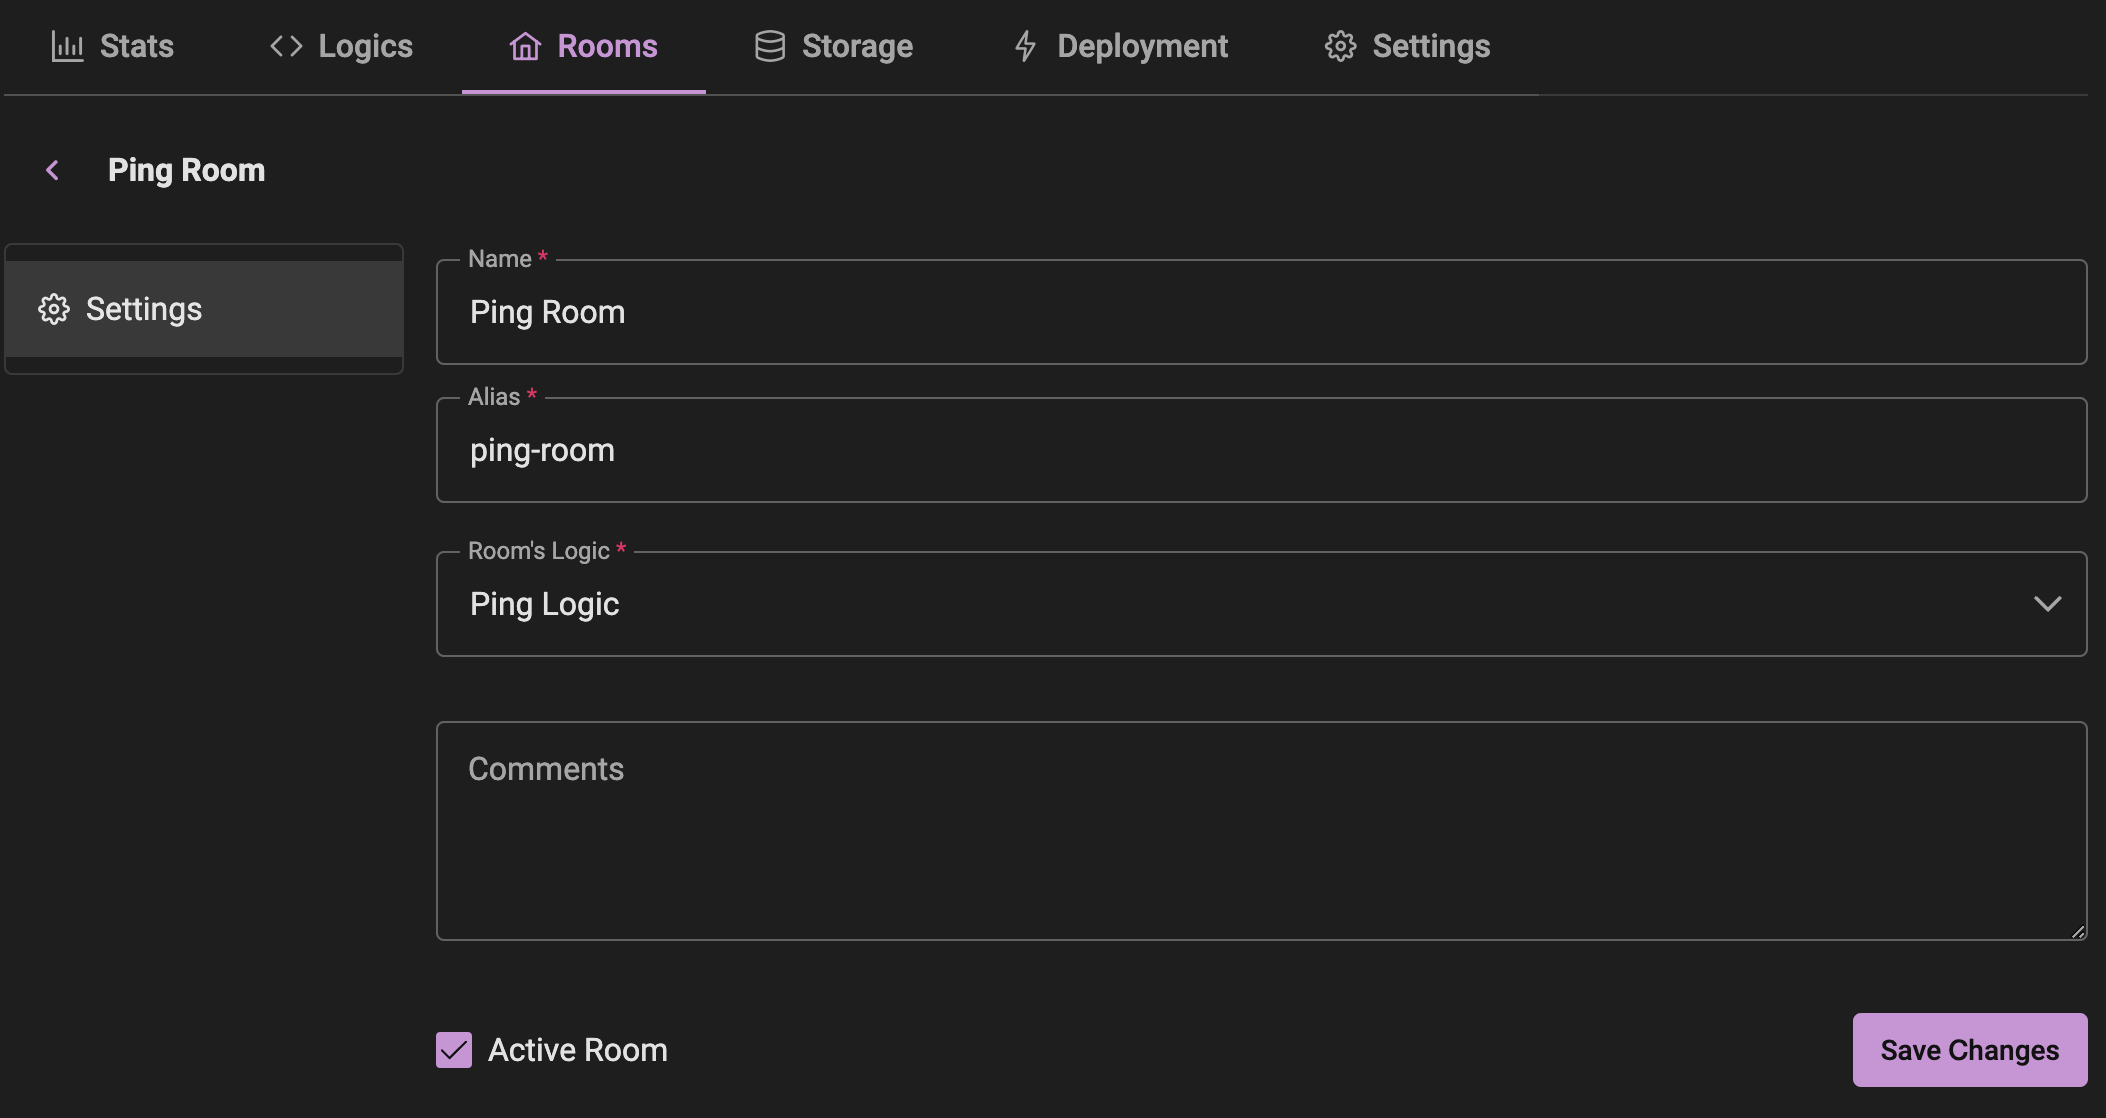
Step 4: Create a Room
- Go to Rooms Section: Navigate to Project > Rooms and click "+ Create Room".
- Name Your Room: Enter "Ping Room" as the name.
- Set Alias of the Room: Enter "ping-room" as the alias. It will be used in the client code to join this room.
- Assign Logic: In the Room's Logic dropdown, select "Ping Logic".
- Save Room: Click "Create".
- Result:
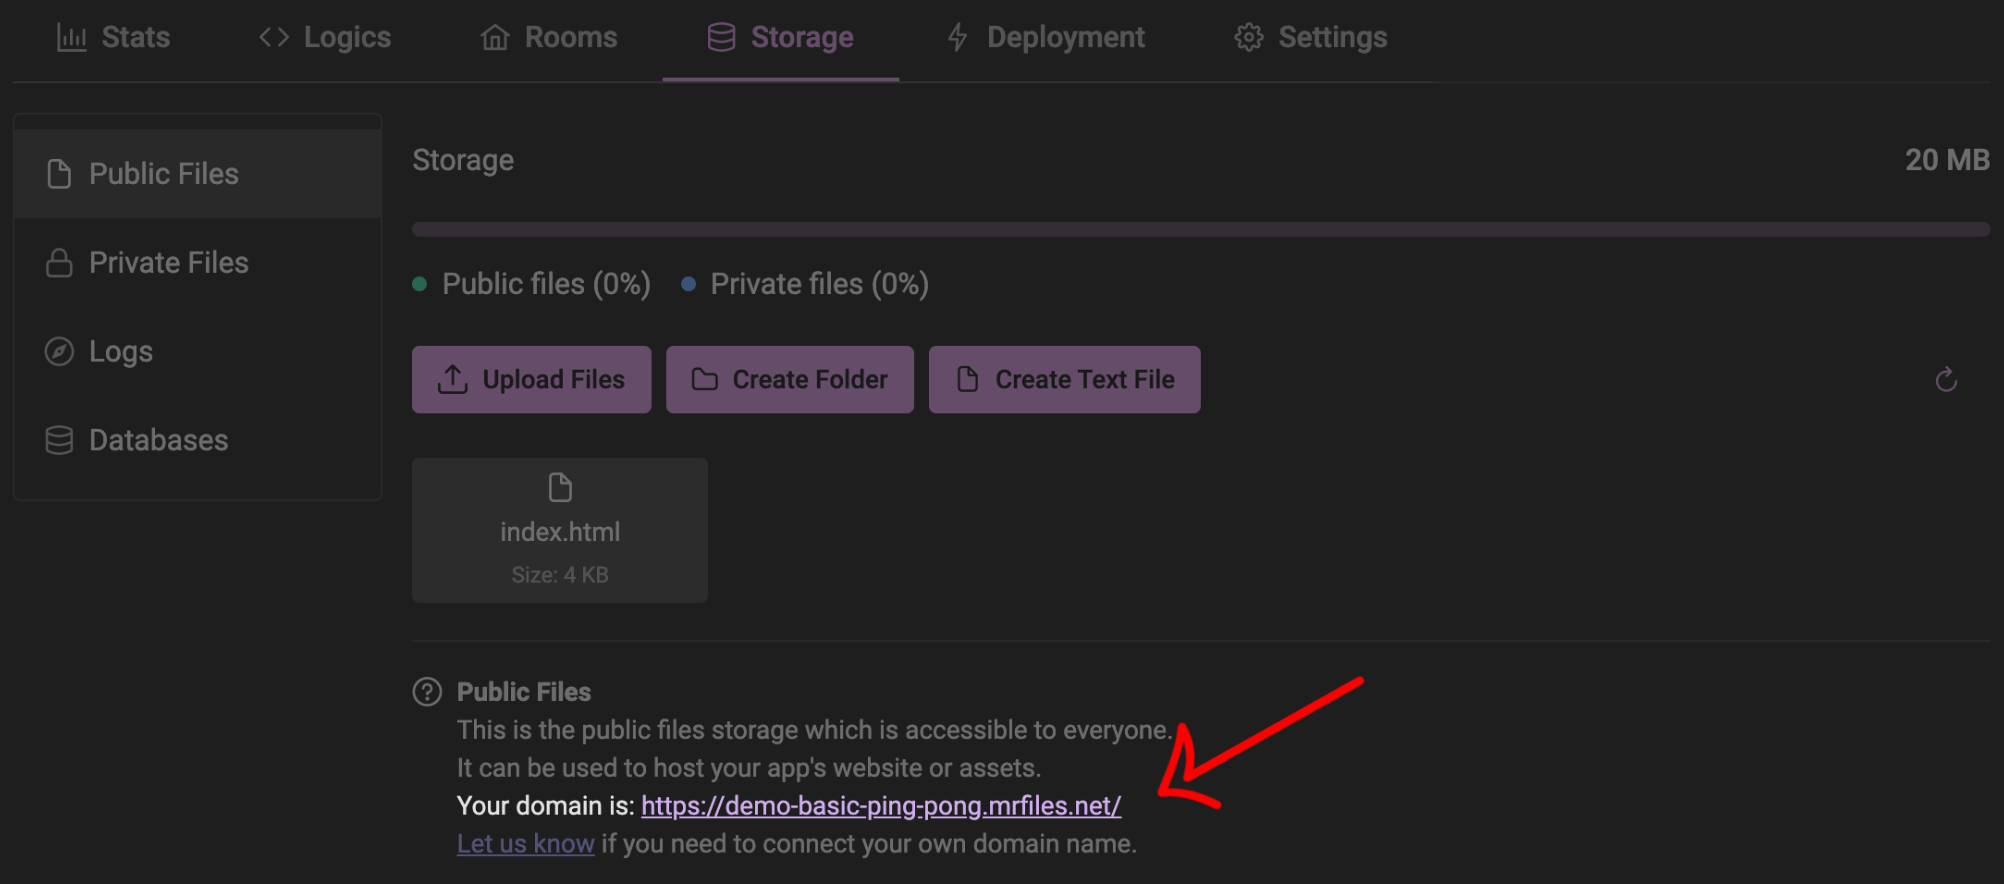
Step 5: Set Up Storage
Go to Storage Section: Navigate to Project > Storage and select Public Files.
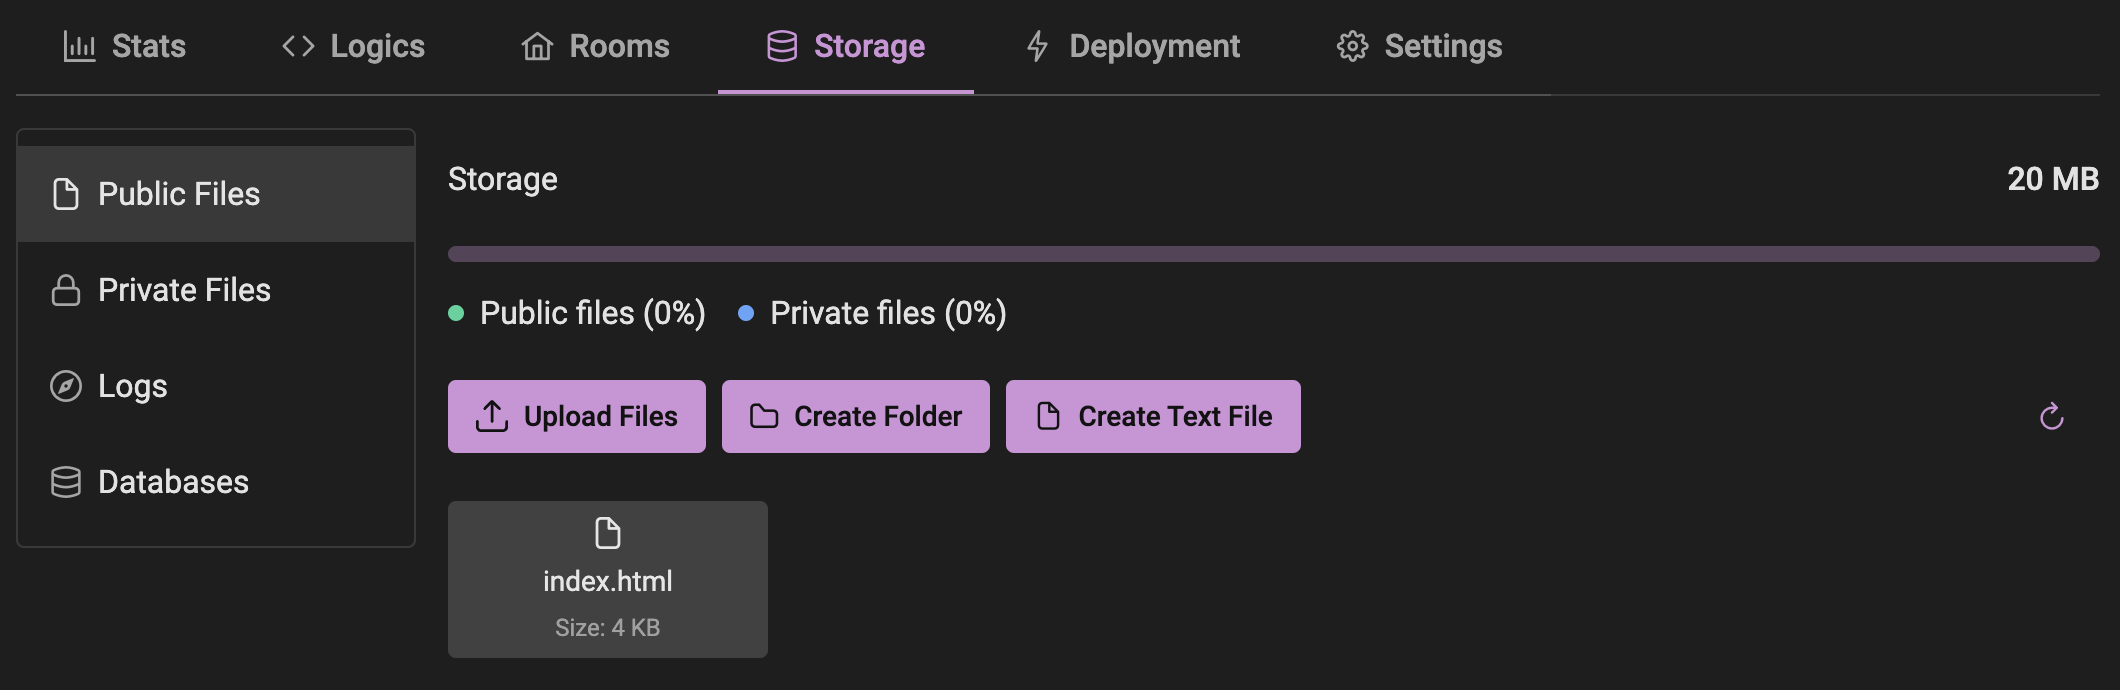
Create HTML File:
- Click "Create Text File" and name it "index.html".
- Use the following HTML code:html
<!DOCTYPE html>
<html lang="en">
<head>
<meta charset="UTF-8" />
<meta name="viewport" content="width=device-width, initial-scale=1.0" />
<title>Ping-Pong Demo</title>
<script src="https://cdn.massiverealm.com/js/v1/client-browser.js"></script>
</head>
<body>
    <button onclick="connect()" id="btnConnect">Connect</button>
    <button onclick="disconnect()" id="btnDisconnect" disabled>Disconnect</button>
    <div id="logs"></div>
    <script type="text/javascript">
        window.MR = new window.MassiveRealmClient.Client({
            debug: true,
            url: 'https://<project-url>.massiverealm.net/',
            publicKey: '<project-public-key>',
            onConnect: () => {
                appendLog('Connected');

                // Joining the room after connecting
                window.MR.joinRoom({
                 alias: 'ping-room' // Room alias as created in the console
               });
            },
            onDisconnect: () => appendLog('Disconnected'),
            onJoinRoom: () => sendPing(),
            onCommand: (command, data) => {
                appendLog(`Received ${command} with number ${data.number}`);
                setTimeout(sendPing, 5000);
            },
        });

        function appendLog(text) {
            document.getElementById('logs').innerHTML += `<div>${new Date().toLocaleTimeString()}: ${text}</div>`;
        }

        function sendPing() {
            const number = Math.floor(Math.random() * 128) + 1;
            appendLog(`Sending Ping with number ${number}`);

            // Send a command to the server
            window.MR.emit('Ping', { number });
        }

        function connect() {
            document.getElementById('btnConnect').disabled = true;
            document.getElementById('btnDisconnect').disabled = false;

            // Connect to the server
            window.MR.connect();
        }

        function disconnect() {
            document.getElementById('btnConnect').disabled = false;
            document.getElementById('btnDisconnect').disabled = true;

            // Disconnect from the server
            window.MR.disconnect();
        }
    </script>
</body>
</html>
Save File: Click "Save".
Step 6: Configure Transport
- Go to Transport Section: Navigate to Project > Settings > Transport.
- Add Transport Service:
- Click "+ Add Transport Service".
- Select "WebSocket" as the Type.
- Enter "ws" in both Unique Alias and Name fields.
- Check "Primary Transport Channel" and "Active".
- Click "Save".
Result: 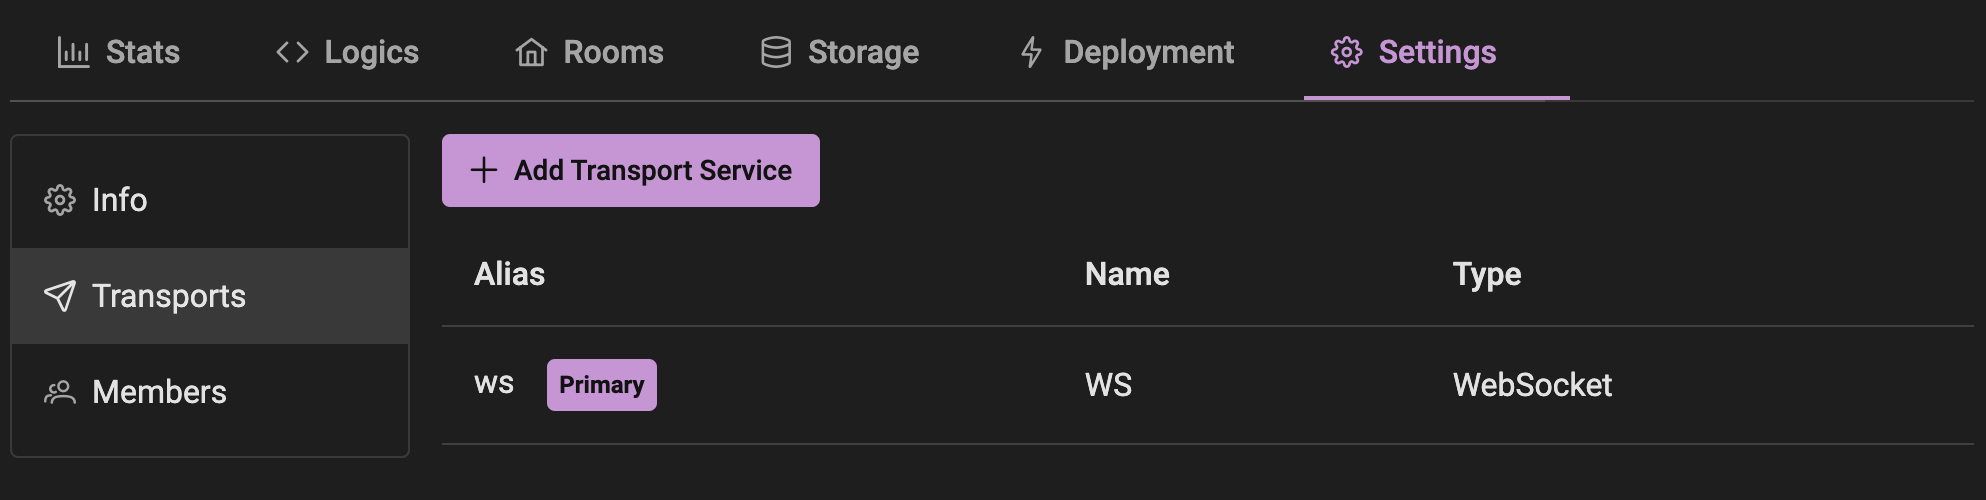
Step 7: Deploy the Project
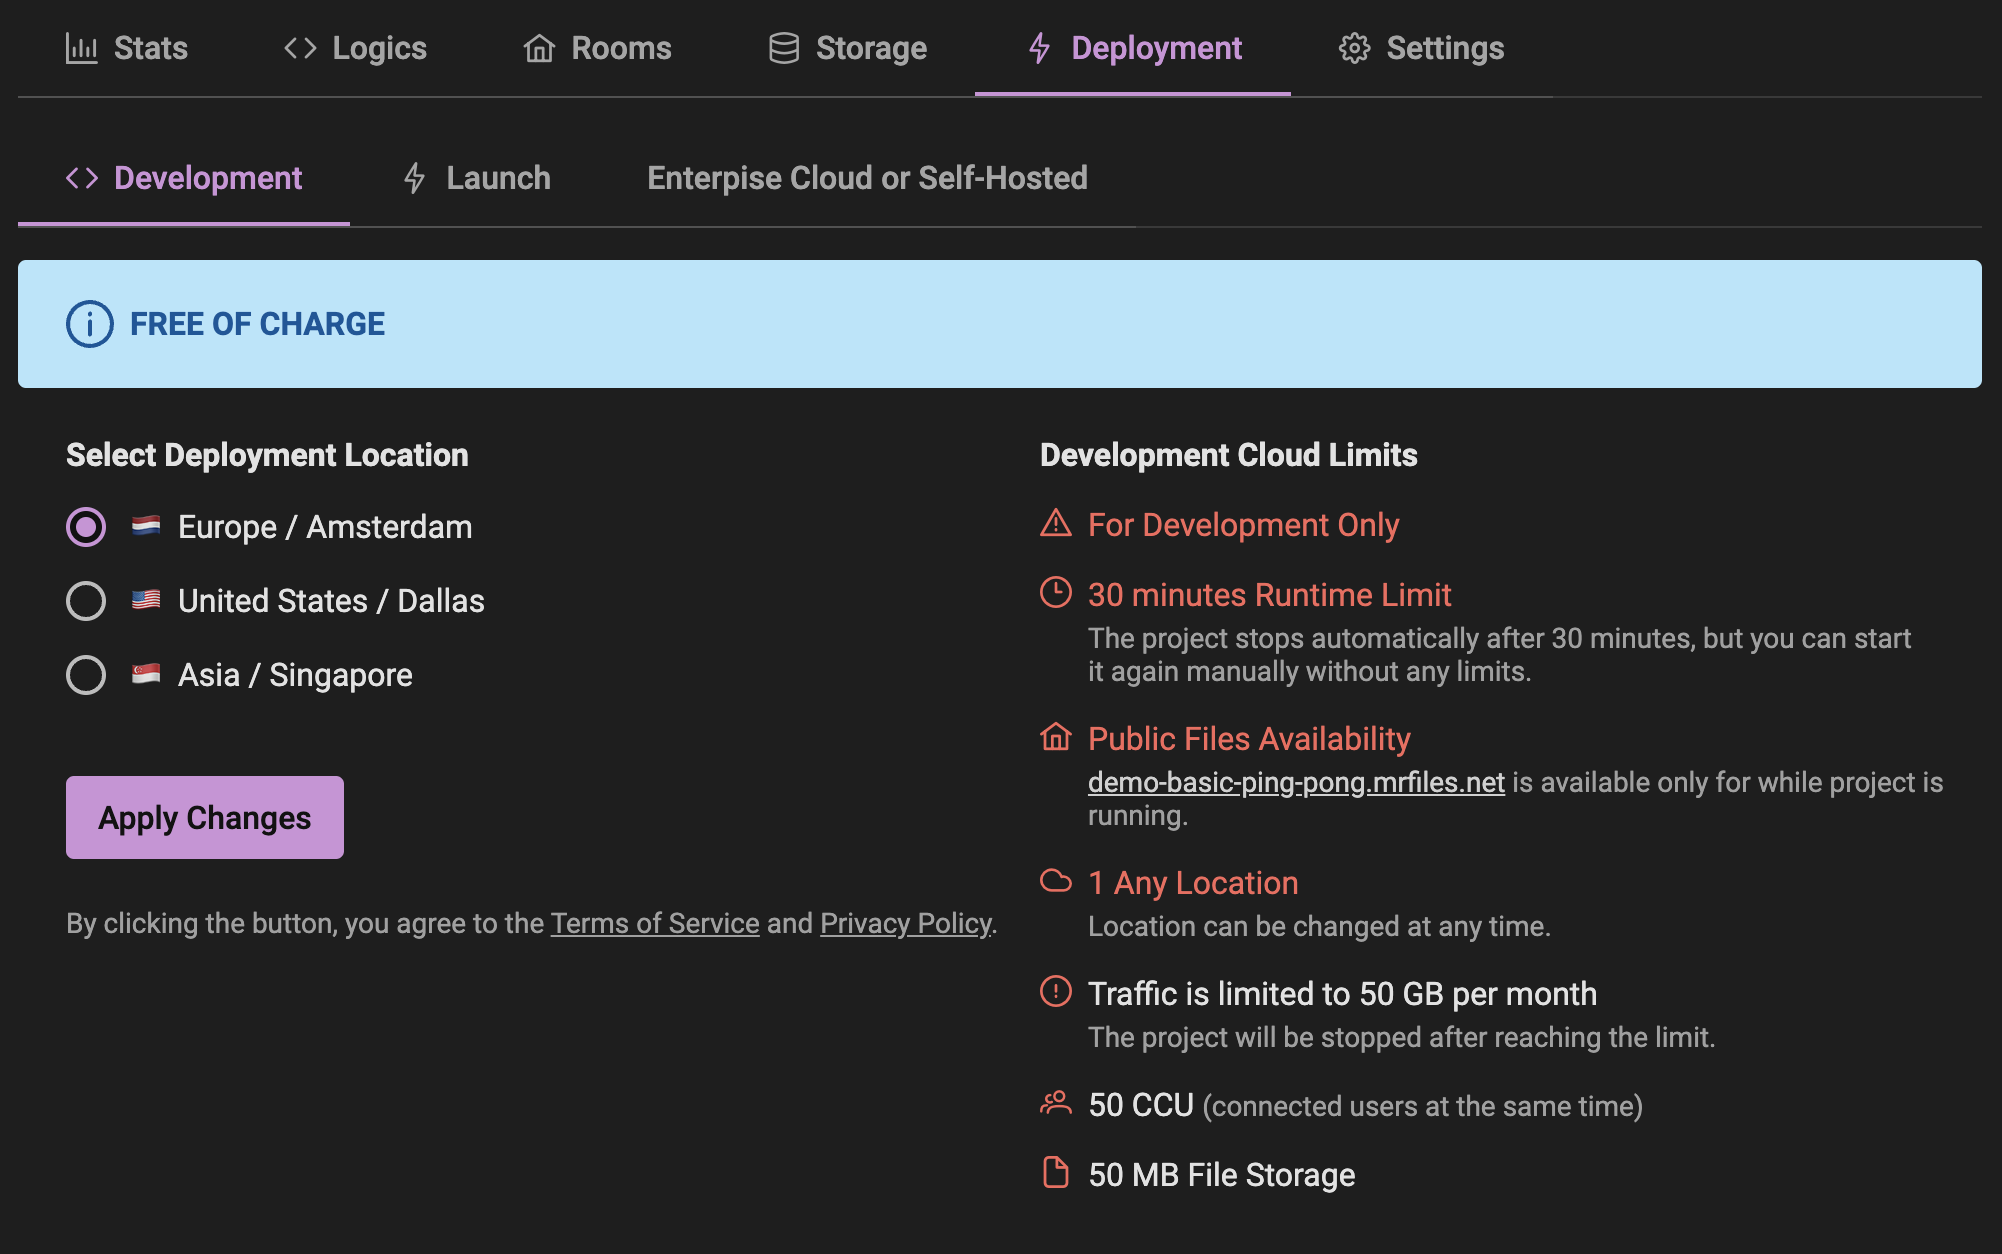
Go to Deployment Section: Navigate to Project > Deployment.
Select Deployment Location: Choose a location (Europe, US, Asia).
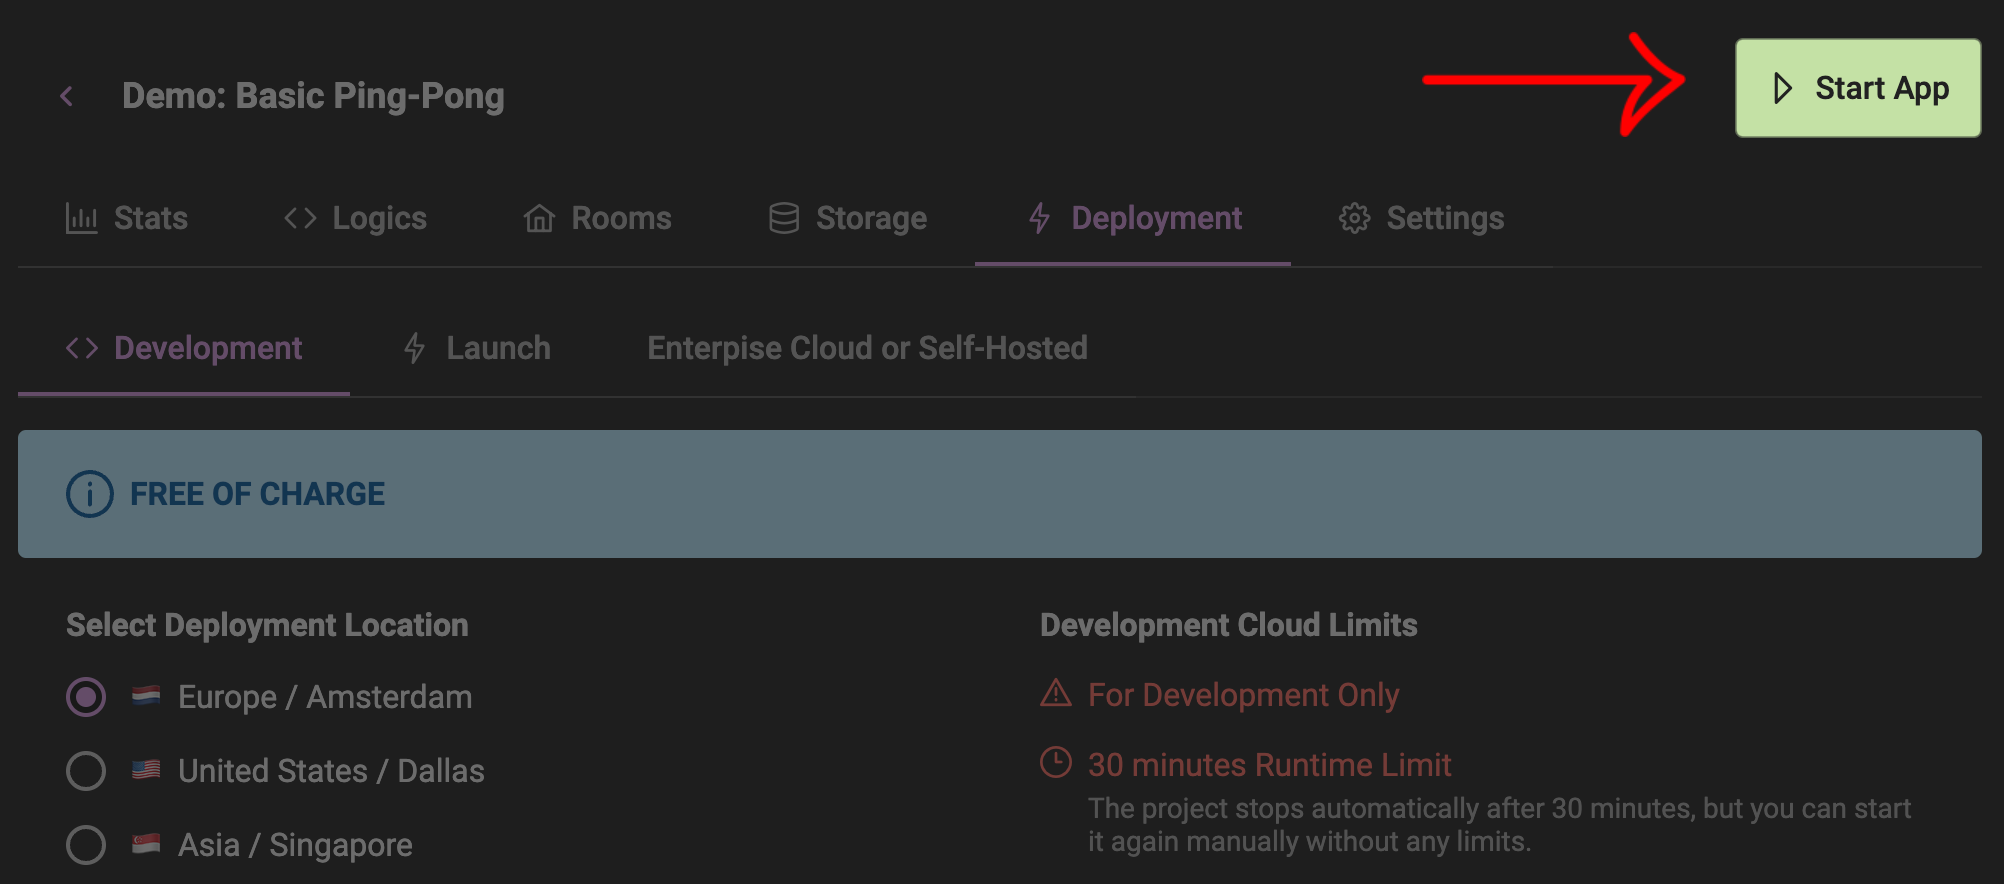
Start Application: Click "Start App" at the top of the page.
Access Project:
Your project will be available at the URL specified in
It will be like: